Longtime readers of the blog will remember a bunch of battle reports for Starships PFM-01 that included Cold Navy miniatures. The designs by those minis currently reside with Ravenstar Studios, but they minis we used in the reports were the original pewter casts from Xtreme Hobby. In this workbench article, I paint one of Ravenstar’s versions of the models: a Terran Republic Navy Masasda-class destroyer.
As usual, click on the thumbnail for a larger picture (assuming there is one).
Normally, I’d walk through the process of turning the model I’d received from the manufacturer, and then summarizing the results at the end, but this review is so full of trials and tribulations that I figured I should skip to the summary first:
This is a gaming-level model. It paints up nicely, has the “swooshability” I prefer from my fakey sci-fi models, and is inexpensive. But I stress that it’s a gaming model — there are enough imperfections (even after trimming and putty) that you’re not going to win any awards without serious work.
With that out of the way, on to the review!
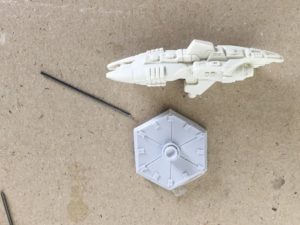
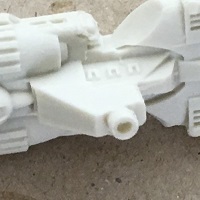
This is what Ravenstar sent me. On top is the destroyer model itself, in white resin. At left is the mounting post for the model, and on bottom is the base.
So our first negative is the flight base.
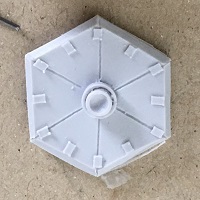
It’s a hexagonal base with radial grooves intersecting the points of the hexagon. They also grow rectangular studs at the end of the grooves and bisecting each edge. When I saw them, I thought, “I should be able to paint these to mark arcs, right?”
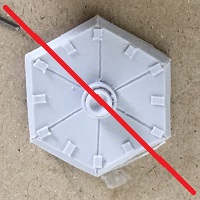
Wrong. The studs might mark off 30-degree angles, but they’re in the wrong place to effectively mark 90-degree arcs. To get the ship lined up with 45 degrees on either side of the bow, you end up with the ship cockeyed on the base.
So, cool looking, but not very flexible. The grooves and studs also get in the way of labeling the base with the ship’s name (we’ll see this later). Lastly, you’re required to drill the hole for the mounting post. That had better not be a problem for you, because the mounting point in the ship also needs drilling. On the bright side, you do have a depression to start with on the ship. It’s enough for a starting guide, but nowhere near deep enough to hold the post on its own.
For the moment, I’m using the provided bases, but Games Workshop has started making their flight bases available again. At some point, I’m going to yank these off and replace them.
But you’re not paying for the base, right? Me neither.
So the model is cast in white resin. It’s a pretty good cast, especially given resin. My experience with small-batch resin shops is that they suffer fill issues, and these models’ quality compares well with pewter models. If we exclude the biggest problem, two out of the four models I received issues beyond “just cleaning flash.”
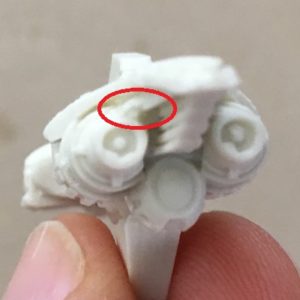
Hopefully, the photo captures the problem here: there’s a deck overhanging the engine nozzles, and the port-side examples are connected by a web of resin. It’s not a huge effort to clean, but the model seemed designed to create that web, so I’d expect to see this frequently.
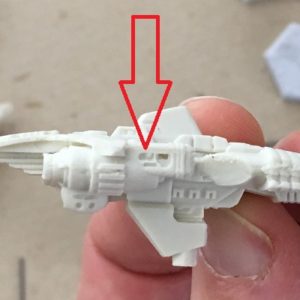
The hanger decks are another failure point. 15 out of 16 hangers were properly recessed, like the one on the right of the filled one. Again, not a huge problem — I simply painted this one as if the hanger door was closed instead of open.
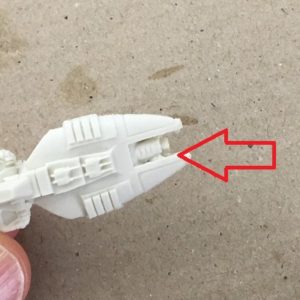
The last bit of flash was found on all four models, fouling the gap in the bow containing the spinal mount. I’m showing you the top side, as it’s the side that’s seen while gaming. If gaming is what you do, this problem is fixable: I cleaned the excess flash on the starboard side, and filled the missing resin on the port side (I didn’t get a good picture of that, sorry).
The flash also fouled the bottom of the model in the same area, such that the two halves of the spinal mount look mis-aligned. It’s visible in this picture from a little later in the painting process.
Click through this one to see the defect in its full glory. Again (for a gaming mini) this isn’t a big deal, as it (and the other detail underneath the ship) are generally unnoticed during normal play.
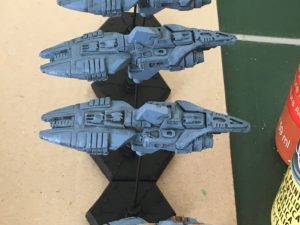
Now, if you’re willing to put in the effort during prep, the models paint up nicely. Just remember to wash them. (Soap and cold water.) That neck between the two sections of the ship wouldn’t hold paint real well for me, and I’m a careless model-washer.
There’s enough of the right kind of detail that it’ll hold an ink wash well. If you’re looking to paint large fleets, the models will make you look good.
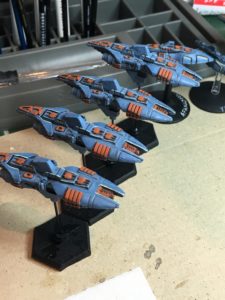
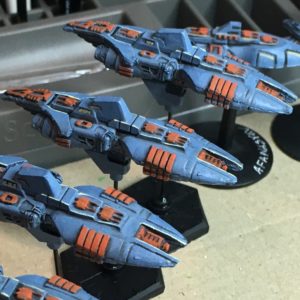
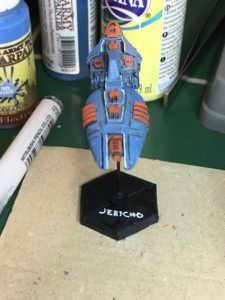
And here they are with a contrast color, and pin stripes. All that’s left is christening each ship …
Oh, frazz. Those stupid bases.
If you like my reviews, buy my game.

