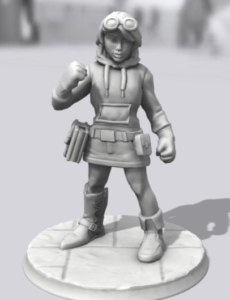
A screen cap of the mini design.
Hero Forge is a custom miniature service associated with Shapeways, and no review of any of their models is complete without a quick overview of the service itself. Simply put, Hero Forge is a computer-aided design app that will let you assemble a miniature from provided options and print that miniature on demand through Shapeways.
(For those of you who missed my original Shapeways reviews, the space station one is here, and the planet one is here.)
Because Hero Forge provides the choices, they are finite — but there are a lot of them, and Hero Forge is adding more all the time. In between when I ordered this figure and when I began writing this review, they added about a dozen new held items.
All this comes at a cost, of course — the model I got is currently $29.99, which is comparable to the cost of a Games Workshop hero model. (Click the pic above to see it in 3-D.) Note that I got ordered the model in “Premium” plastic, because the previous plastic model I got from Shapeways was the “White Strong & Flexible, Polished” plastic.
Time for a quick digression: it’s not exactly clear which Shapeways plastics that Hero Forge is referring to. Hero Forge labels them “Plastic” and “Premium.” Based on their description in their Materials Guide, my interpretation is that the “Plastic” is Shapeways’ “White Strong & Flexible,” and “Premium” is Shapeways’ “Black Premium Strong & Flexible.” As a result, I ordered the Premium plastic to keep the details on the model, and (as we’ll see later in the review) I believe this was the right choice.
Once you order the figure, you sit back and wait. I only had to wait the minimum two weeks, but Hero Forge claims it could take three. Here’s what mine looked like out of the box (from here on out, clicking on the picture will take you to the full-size version):
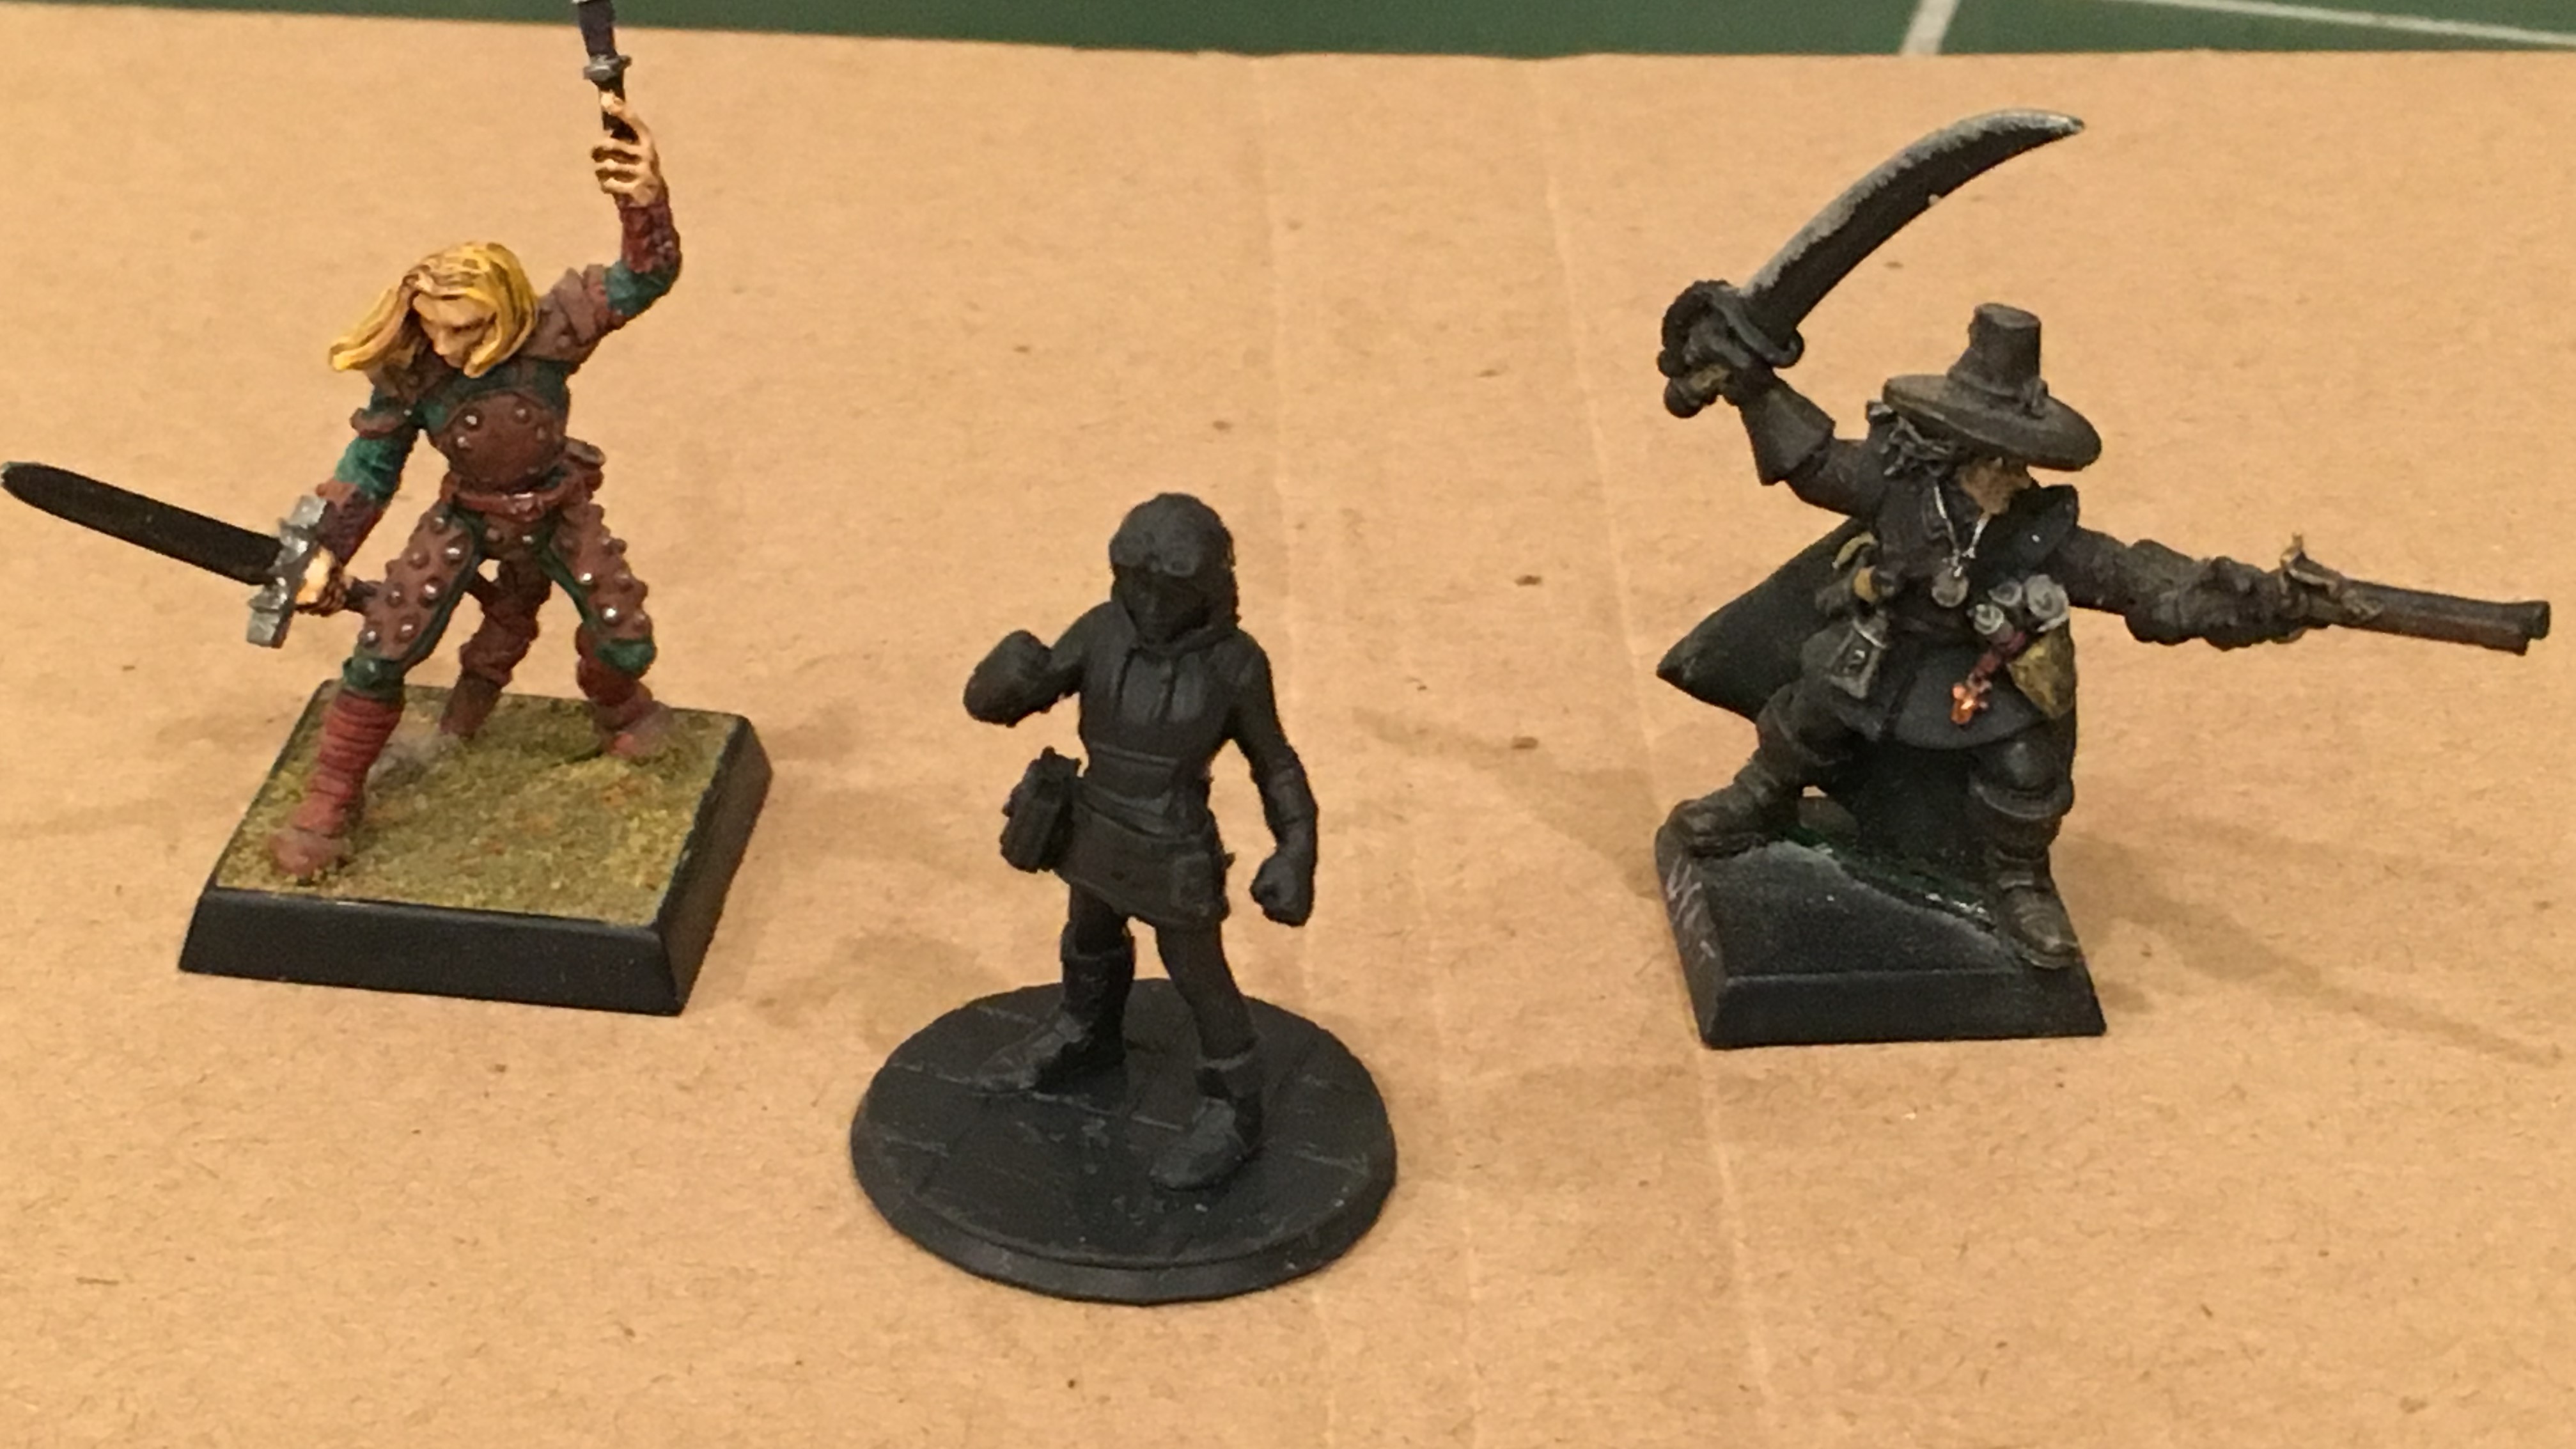
Center, Rita
The Hero Forge miniature is in the center. On the left is Shad Coalshadow (from Reaper Miniatures), on the right is Games Workshop’s Witch Hunter from the original Warhammer Quest line. I deliberately made the mini a little short; the character it’s based on is 5-foot-nothing, but she stands tall against figures made in the “Heroic Scale” that’s common these days.
One of the down sides of it showing up black is that I couldn’t see any flash that needed cleaning — and there was some. They were tiny bumps of the kind I hadn’t seen before. It was the only sign of the printing process, though.

Rita after priming
One of the things I like about priming white — besides how nicely the skin tones turn out — is how much detail you can see. And there’s a lot of it.

Rita’s back, primed
It’s worth mentioning that the certain details are very fine. The miniskirt, especially, shows detail in the belt loops, the zipper cover, and the lower hem. But we were talking about printing artifacts; if we zoom in on her left arm …
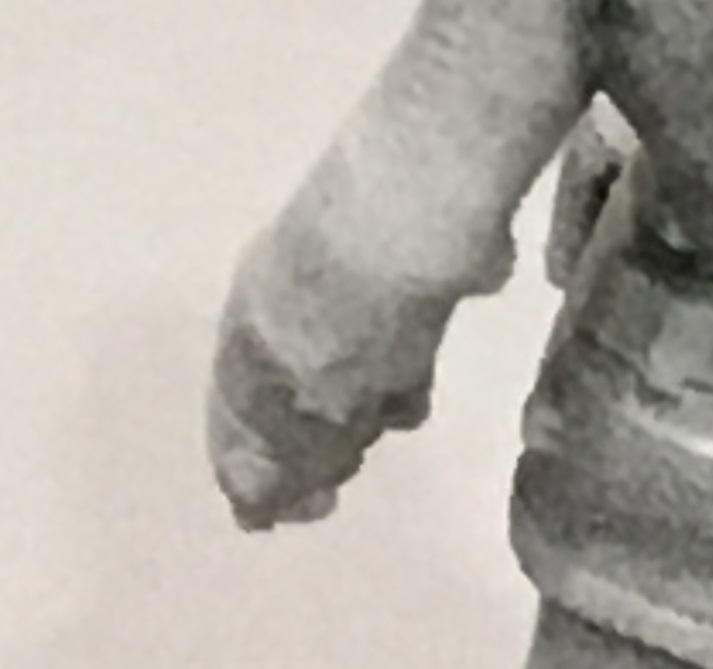
Printing artifacts on the left arm
I couldn’t see those weird little bumps before I primed the figure, and they were kind of a pain to clean off. Usually, I’d just get out the clippers and snip them off, but I had to play games with an X-ACTO knife to clean these off. I had to re-prime the figure after that, but I had to re-prime it anyway, given the horrid job I did on the back side of the figure.
Here’s the point where I admit that I repainted this figure a couple of times because I was out of practice. This figure will take washes and dry-brushes and all the usual techniques just fine — assuming you’re delicate with your touch. I wasn’t, plus I realized I was out of the right skin tones. The Master Model Paints I lost in the last post were my “rosy flesh” triad, and a tawny tone didn’t look right on the figure:

Rita with tawny flesh
Obviously, I start from the eyes out on my figures, and this one was turning out OK. Except … I didn’t have the rosy flesh, so I kept lightening her face until it looked over-powdered like something out of a silent film. But I include the picture here so you can see how well the washes took on her hair, her legs, and the book.
Here’s what it looked like after I acquired Reaper’s Rosy Flesh triad:

Rita with rosy flesh
You might notice some subtle differences in technique on the repaint. I got into a mood, and used a Dallimore-style technique on the repaint. That is, instead of paint the base with the main color, wash with a darker shade, then drybrush with a lighter shade; I painted the figure with the darkest shade first, then painted the middle shade (with a wet brush, so it blended a bit), and then finished with another wet brush of the lightest shade.
Before I show you the final result, I want to show you the details on the left boot. (Did I mention that Hero Forge lets you mismatch shoes?) I ended up painting the whole thing yellow, and then repeatedly using a black wash to pull this off:
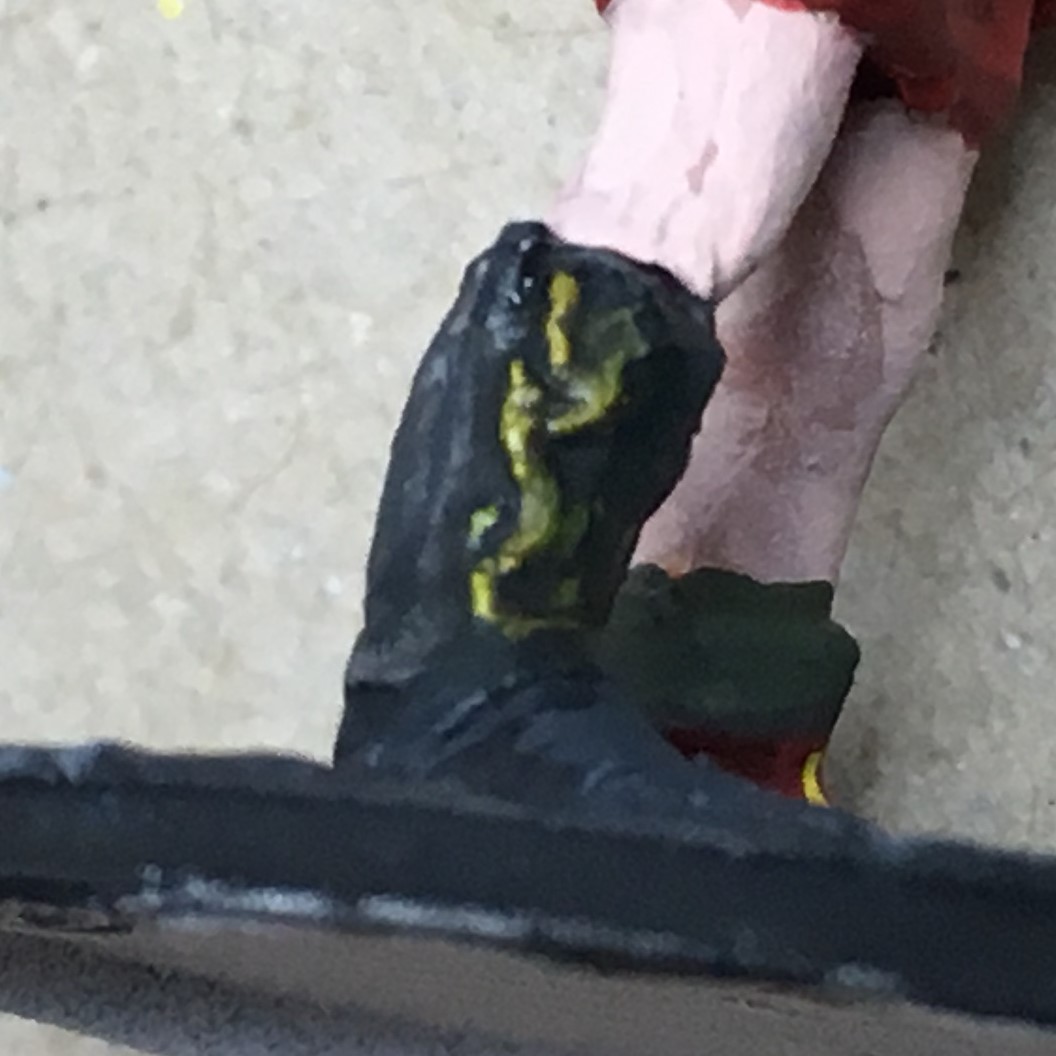
The “out” side of the boot
The flair on the inside of the boot was a little harder to paint well:

The “in” side of the boot
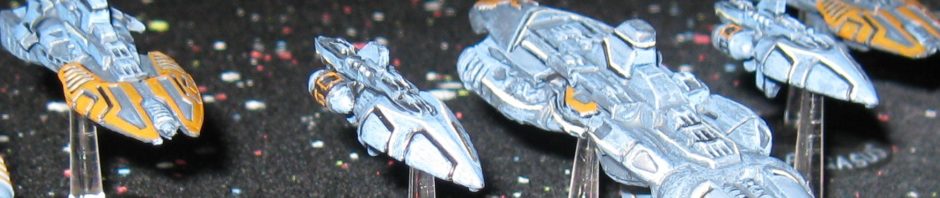
Here’s the final result with our buddies from the first picture:

Rita after painting
So what’s the verdict? It all depends on whether you can get the look you want out of the customization tool, because the mini itself is of the quality you’d expect of a custom mini at the price. I, at least, am going to use the service again.
Maybe on another one of this exact model. Man, I’m out of practice …
The tools used on this model include:
- Army Painter White Primer
- Three Army Painter Warpaints
- Seven Vallejo Model Color Acrylics
- 15 Reaper Master Series Paint colors, including their Rosy Flesh Triad (Rosy Flesh, Rosy Shadow, and Rosy Highlight)
- Seven Citadel Paints, with special mention of their shades and glazes (the Bloodletter glaze was what I used to add color and shine to the goggle lenses)
- Winsor & Newton Cotman brushes
- A Loew-Cornell 18/0 spotter